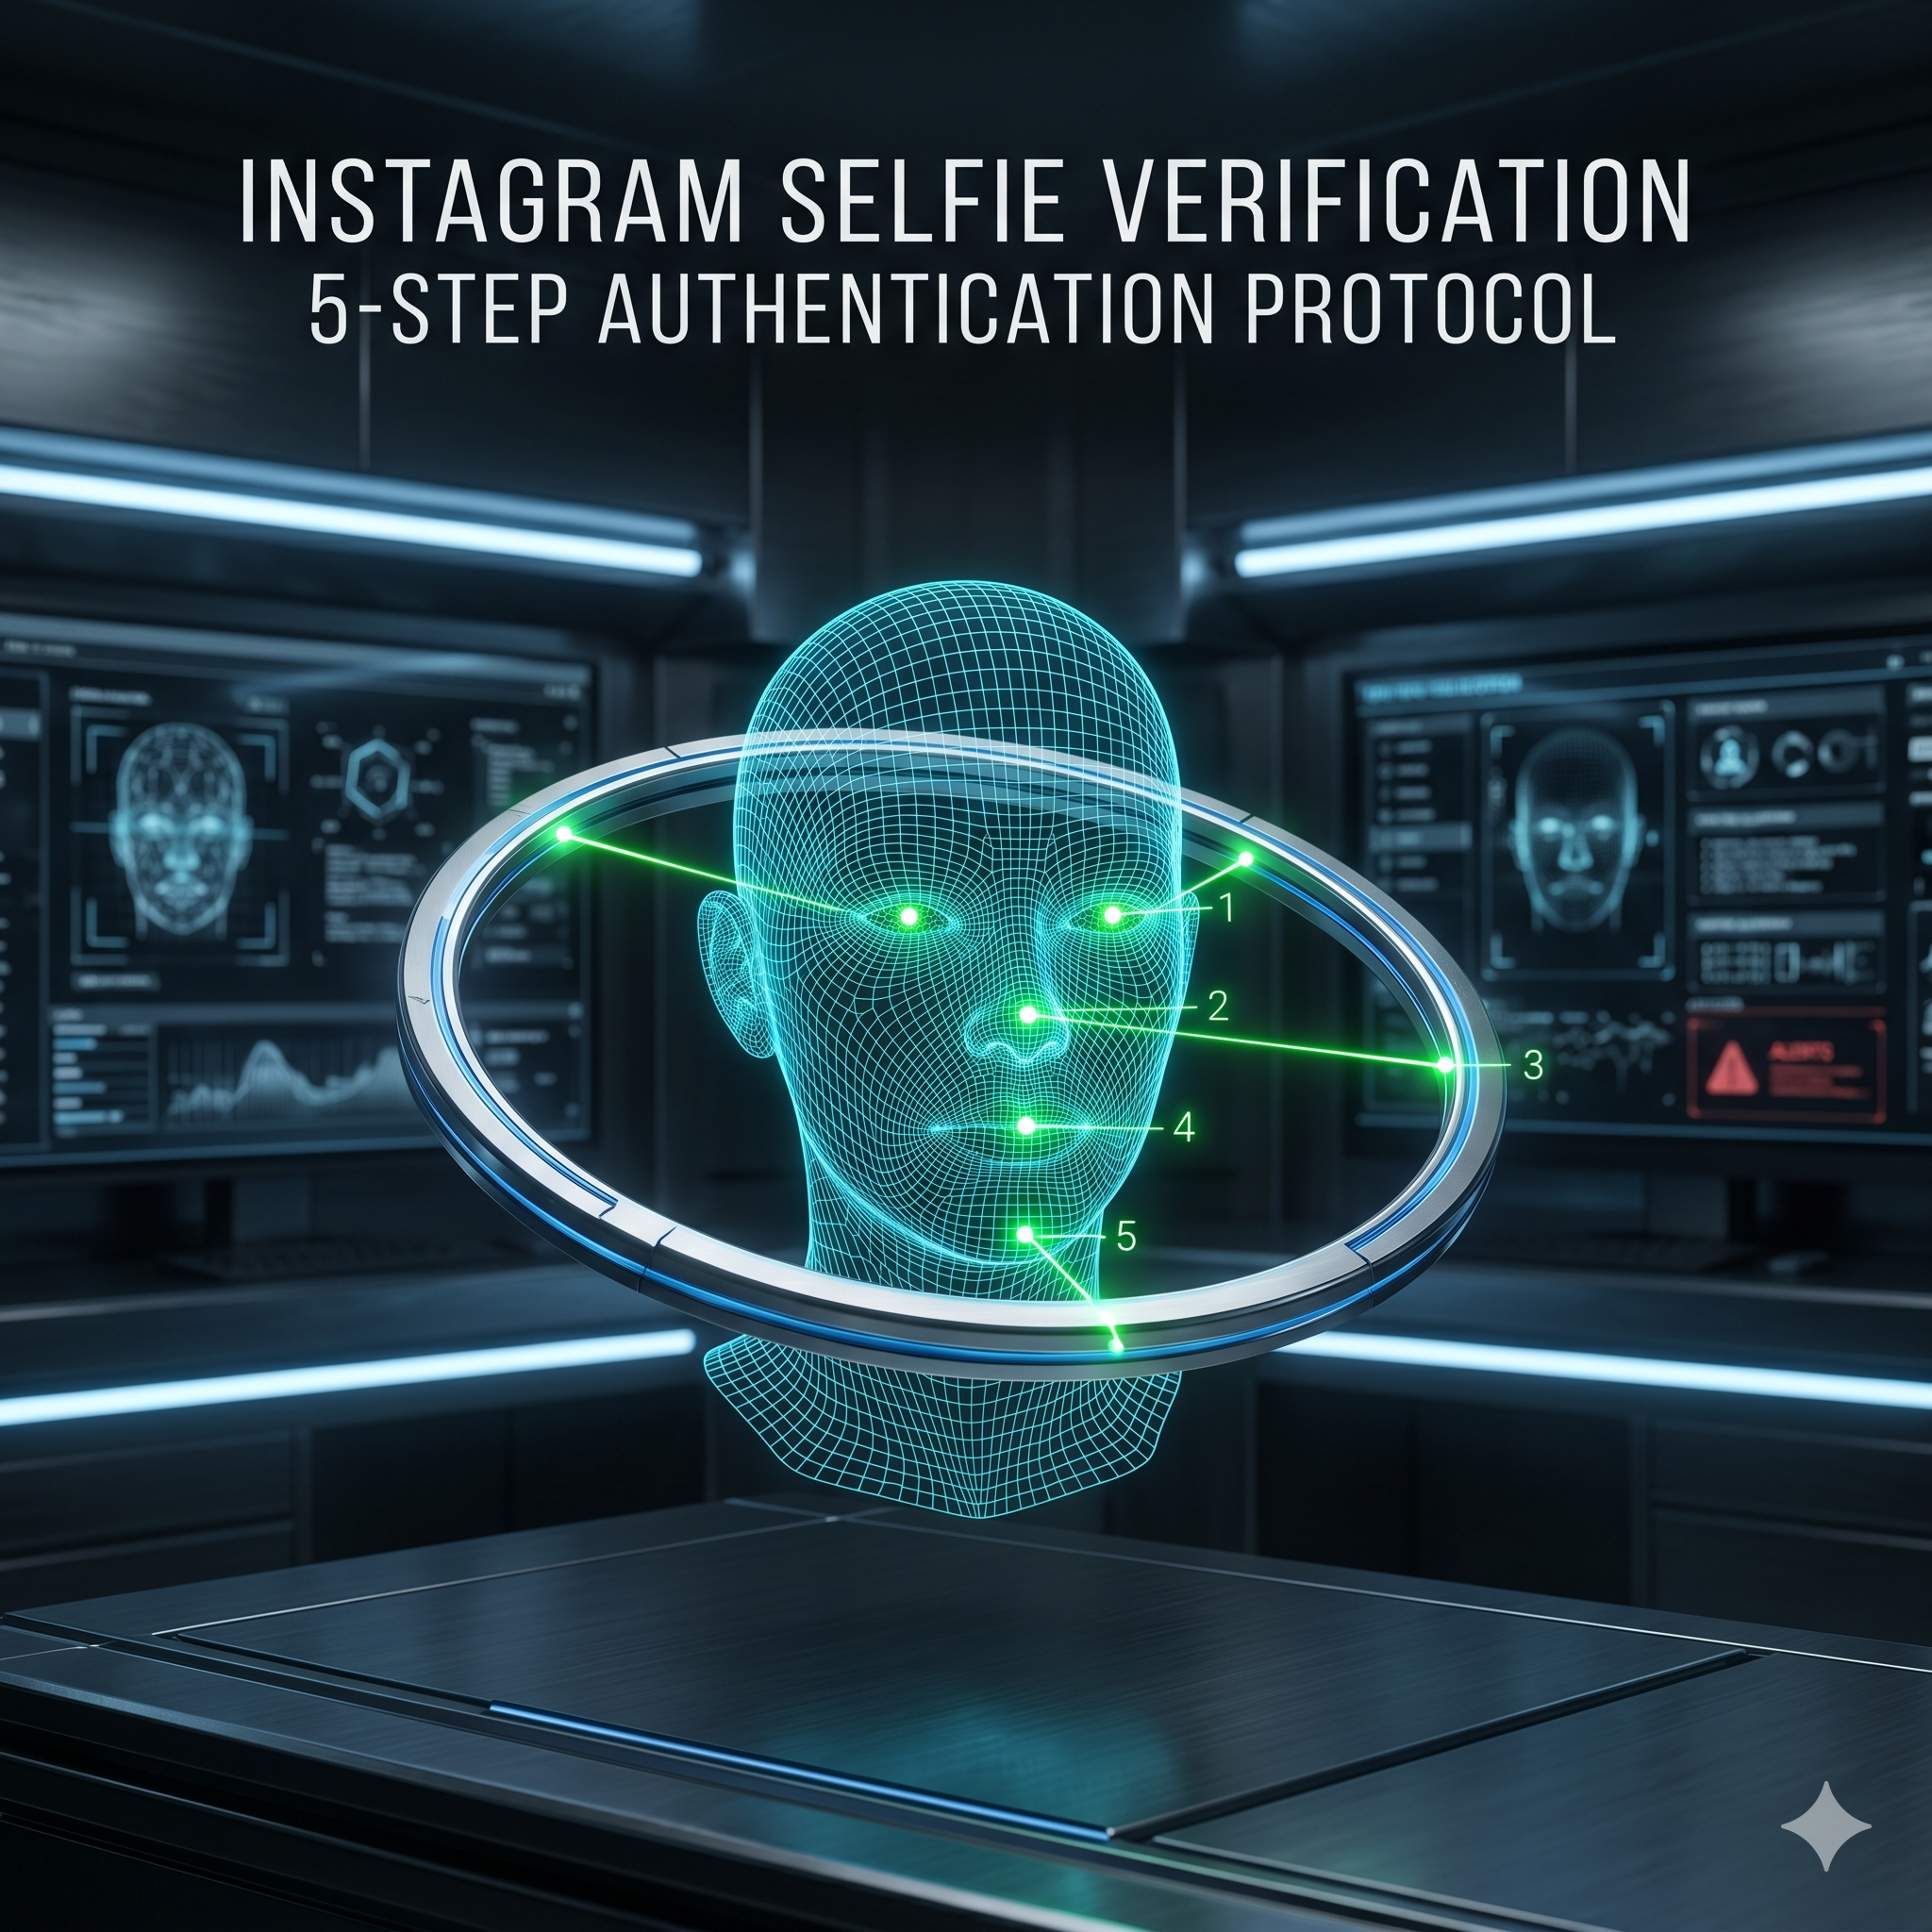
Instagram’s selfie verification — a short video of your face — is how the platform confirms you are the real owner of a locked or disabled account. Your success rate improves dramatically when you record in good lighting, match your profile’s usual appearance, follow the head-movement instructions precisely, and submit from a device and location tied to the account. These five steps give you the best chance of passing on the first attempt.
Step 1: Prepare the Right Environment
- Lighting: use natural daylight or bright, even indoor light. Avoid backlighting (no window behind you) and harsh facial shadows.
- Background: a plain, uncluttered wall helps Instagram’s AI focus on your face.
- Camera: use your phone’s front camera — verification works best with it.
Step 2: Match Your Profile Appearance
The AI compares your video to photos already on your account, so maximize the match:
- Wear a hairstyle similar to your profile photos.
- Skip heavy makeup or filters if your profile photos are natural.
- Wear similar clothing colors and style to your common photos.
- Record at roughly the same distance from the camera as your profile photo.
Step 3: Follow the Movement Instructions Precisely
Instagram asks you to slowly turn your head in specific directions — typically left then right, and sometimes up then down, before looking straight at the camera. Move slowly and smoothly: rapid movements blur the frames and fail the check. Complete each movement fully rather than stopping halfway.
Step 4: Submit From the Right Device and Location
Instagram gives higher confidence to submissions from devices and IPs in the account’s history:
- Use the device you most often used for the account.
- Submit from your usual location (home or work), not somewhere unfamiliar.
- Turn off any VPN — it makes your location look foreign and lowers confidence.
Step 5: What Happens After You Submit
Instagram reviews the video within 24–72 hours (sometimes faster) and emails you either a recovery link or a request for more information. If rejected, you can retry — but wait at least 24 hours and fix the likely cause first rather than resubmitting immediately.
If Selfie Verification Keeps Failing — How AccRevert Helps
Repeated failures usually mean your account has few photos of you, its photos are from a very different time (major appearance change), or it was used mainly for non-personal content. In those cases, ownership-evidence submission or professional escalation is the better path. AccRevert compiles the exact evidence package Meta responds to — a flat $299 to start, success-based after. See our Instagram recovery service.
Frequently Asked Questions
Why does my Instagram selfie verification keep failing?
Common causes are poor lighting, moving too fast, using a VPN or unfamiliar device, or having few matching photos on the account. Fix those, wait 24 hours, and retry — or escalate after about three failures.
How long does selfie verification take to review?
Usually 24–72 hours, sometimes faster. You will get an email with a recovery link or a request for more information at the address you provided.
Does the selfie need to match my profile name?
No — it matches your face against your account’s photo history, not your name. Pseudonymous and creator accounts can still pass.
Can I pass if the hacker deleted my photos?
It becomes harder because the AI has fewer images to match. In that case, submit additional ownership evidence or use professional escalation rather than relying on selfie matching alone.
Final Checklist
- Good, even lighting and a plain background, front camera only.
- Match your usual appearance; no filters or heavy makeup.
- Move slowly and complete each head movement fully.
- Submit from your usual device/location with no VPN.
Struggling with Instagram’s selfie check? Submit your case to AccRevert — pay only on success.
Related Articles
Stop guessing and document the case properly.
Our team can review the account history, available ownership evidence and the recovery steps already attempted.
How to Verify Your Identity on Instagram Without an ID
Instagram Hacked and Email and Password Changed? How to Recover